Hey there! As a supplier of Copper Control Cables, I often get asked about how to splice two copper control cables. It's a crucial skill, especially for those working in electrical systems where cable connections need to be made securely and effectively. In this blog, I'll walk you through the step - by - step process of splicing two copper control cables.
Why Splice Copper Control Cables?
Before we dive into the how - to, let's quickly talk about why you might need to splice copper control cables. There are several reasons. Maybe you're extending a cable to reach a new location, or you need to repair a damaged section of the cable. Whatever the reason, splicing is a cost - effective and practical solution.
Tools and Materials You'll Need
First things first, gather all the necessary tools and materials. You'll need a good pair of wire strippers. Make sure they're sharp and can handle the gauge of your copper control cables. A soldering iron with the appropriate tip size is also essential. You'll need a roll of electrical tape to insulate the spliced area, and some solder. For a more professional and long - lasting connection, you might also want to get some heat - shrink tubing.
Step 1: Prepare the Cables
Start by cutting the two copper control cables to the appropriate length. Leave a bit of extra length to make the splicing process easier. Then, use your wire strippers to remove the insulation from the ends of the cables. Make sure you strip the insulation to a length that's suitable for the type of splice you're going to make. Usually, about 1 - 2 inches is a good length.

Step 2: Choose the Splice Type
There are a few different types of splices you can use for copper control cables. The most common ones are the Western Union splice and the twist - on splice.
The Western Union splice is a reliable and strong connection. To make a Western Union splice, cross the two stripped cable ends, then wrap one end tightly around the other in a clockwise direction. Do the same with the other end, wrapping it around the first end in a counter - clockwise direction. This creates a very secure mechanical connection.
The twist - on splice is quicker and easier. Simply twist the two stripped cable ends together tightly. You can use a pair of pliers to make sure the twist is tight.
Step 3: Soldering
Once you've made the mechanical connection, it's time to solder. Heat up your soldering iron and touch it to the spliced area. When the area is hot enough, apply the solder. The solder should flow smoothly around the spliced wires, creating a strong electrical connection. Make sure to cover the entire spliced area with solder, but don't use too much, as it can cause a short - circuit if it drips onto other parts of the cable.
Step 4: Insulation
After soldering, it's crucial to insulate the spliced area. You can use electrical tape for a basic insulation. Wrap the tape tightly around the spliced area, making sure to cover the exposed wires completely. For a more professional and durable insulation, use heat - shrink tubing. Slide the tubing over the spliced area and use a heat gun to shrink it. The heat - shrink tubing will form a tight seal around the spliced wires, protecting them from moisture and other environmental factors.
Step 5: Testing
Once the splice is insulated, it's time to test the connection. You can use a multimeter to check the continuity of the cable. Set the multimeter to the continuity setting and touch the probes to the two ends of the cable. If the multimeter beeps, it means the connection is good.
Different Types of Copper Control Cables
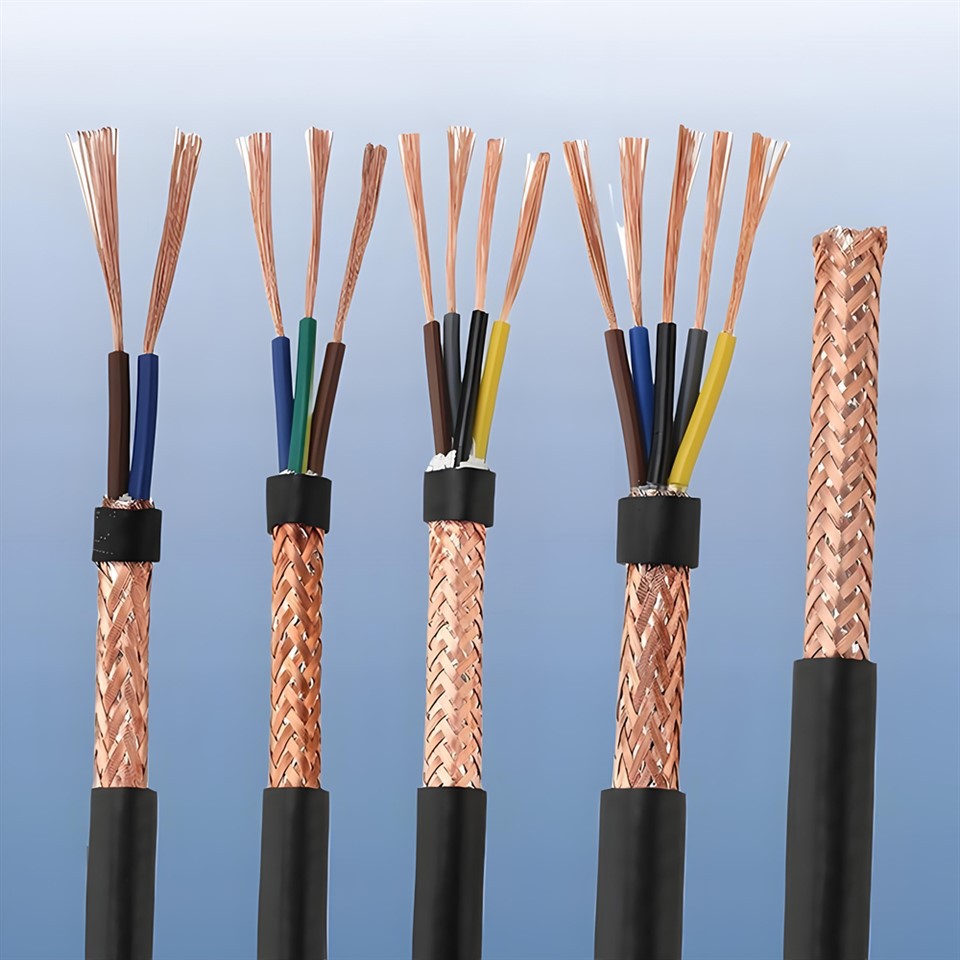
As a supplier, I deal with various types of copper control cables. For example, the Multi Core Control Cable is great for applications where you need to transmit multiple signals. It has multiple cores, each carrying a different signal, which makes it very versatile.
The Hv Power Cable is designed for high - voltage applications. It can handle large amounts of electrical power and is commonly used in power distribution systems.
The Screened Control Cable is used in environments where there's a lot of electromagnetic interference. The screening helps to protect the signals in the cable from being disrupted.
Tips for a Successful Splice
- Make sure your tools are clean and in good condition. Dirty or dull tools can make the splicing process more difficult and can result in a poor connection.
- Work in a well - lit area. This will help you see what you're doing and ensure that you make a proper connection.
- Take your time. Rushing through the splicing process can lead to mistakes, which can cause problems down the line.
Conclusion
Splicing two copper control cables is not as difficult as it might seem. With the right tools, materials, and a bit of patience, you can make a secure and reliable connection. Whether you're a professional electrician or a DIY enthusiast, knowing how to splice copper control cables is a valuable skill.
If you're in the market for high - quality copper control cables, we've got you covered. We offer a wide range of cables to meet your specific needs. If you have any questions or want to discuss your requirements, don't hesitate to reach out. We're here to help you find the best solution for your project.
References
- Electrical Wiring Handbook, various editions
- National Electrical Code (NEC) standards