

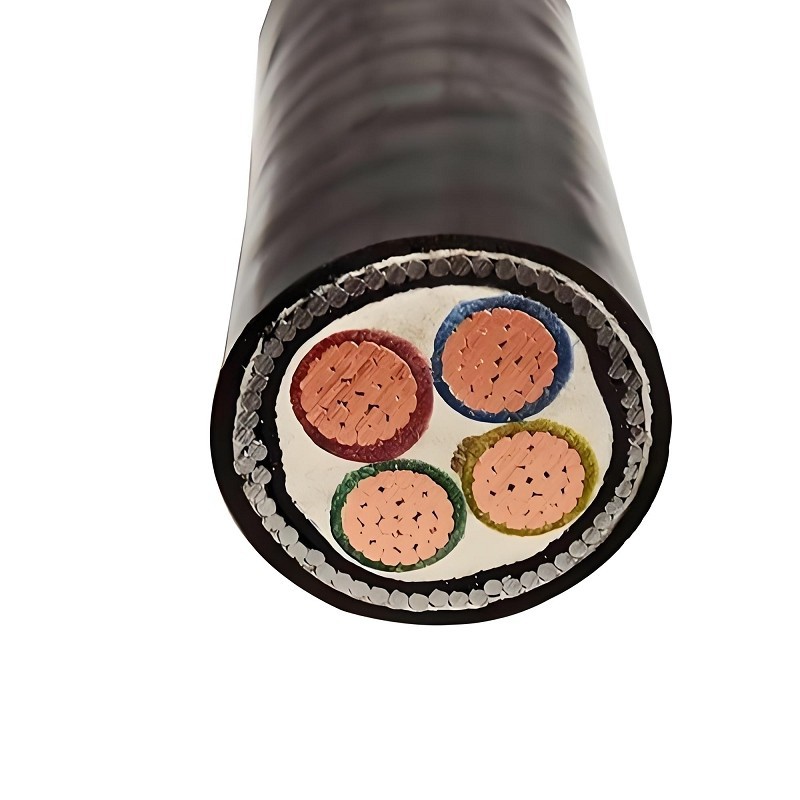
Hey there! As a supplier of Armoured Control Cable, I've seen firsthand how important it is to label these cables properly for easy identification. In this blog post, I'm gonna share some tips and best practices on how to label your Armoured Control Cable effectively.
Why Labeling is Crucial
First off, let's talk about why labeling Armoured Control Cable is so important. These cables are used in a wide range of applications, from industrial settings to commercial buildings. Without proper labeling, it can be a real headache to figure out which cable is which, especially in a complex wiring system.
Labeling helps in several ways. It makes it easier for maintenance crews to quickly identify and troubleshoot issues. When a problem arises, they can simply look at the label and know exactly what the cable is for and where it's going. This saves time and reduces the risk of making mistakes during repairs.
Also, proper labeling is essential for safety reasons. In case of an emergency, first responders need to be able to quickly identify the cables to ensure they can handle the situation safely. For example, if there's a fire, they need to know which cables are carrying power and which ones are for control purposes.
Types of Labels
There are several types of labels that you can use for Armoured Control Cable. Let's take a look at some of the most common ones:
Adhesive Labels
These are probably the most popular type of labels. They're easy to apply and come in a variety of sizes and colors. You can print custom information on them, such as the cable's function, voltage, and length. Adhesive labels are durable and can withstand different environmental conditions, but make sure to choose a high - quality label that won't peel off easily.
Heat - Shrink Labels
Heat - shrink labels are another great option. They're made of a special material that shrinks when heated, creating a tight fit around the cable. This makes them very secure and resistant to wear and tear. Heat - shrink labels are also resistant to moisture and chemicals, which is important in industrial environments.
Cable Ties with Labels
Cable ties with built - in labels are a convenient and cost - effective option. You can write or print information on the label part of the cable tie. They're easy to install and can be used in tight spaces. However, they may not be as durable as adhesive or heat - shrink labels.
What to Include on the Label
Now that we've talked about the types of labels, let's discuss what information you should include on the label. Here are some key details:
Cable Identification Number
Assign a unique identification number to each cable. This makes it easy to track and manage the cables in your system. You can use a simple numbering system, such as starting with 1 and incrementing for each new cable.
Cable Function
Clearly state what the cable is used for. For example, if it's for controlling a specific machine or device, write that on the label. This helps maintenance crews quickly understand the purpose of the cable.
Voltage and Current Ratings
Include the voltage and current ratings of the cable. This is important for safety reasons, as it helps ensure that the cable is being used within its specified limits.
Length of the Cable
Mention the length of the cable on the label. This can be useful when planning and installing the cable, as well as for troubleshooting purposes.
Labeling Process
Here's a step - by - step process for labeling Armoured Control Cable:
- Prepare the Cable: Make sure the cable is clean and dry before applying the label. Any dirt or moisture on the cable can prevent the label from adhering properly.
- Choose the Right Label: Select the type of label that best suits your needs. Consider factors such as durability, environmental conditions, and the amount of information you need to include.
- Print the Label: If you're using adhesive or heat - shrink labels, print the necessary information on them. Make sure the text is clear and easy to read.
- Apply the Label: Follow the manufacturer's instructions for applying the label. For adhesive labels, simply peel off the backing and stick it to the cable. For heat - shrink labels, use a heat gun to shrink the label around the cable.
- Inspect the Label: After applying the label, check to make sure it's securely attached and the information is visible.
Other Considerations
When labeling Armoured Control Cable, there are a few other things to keep in mind:

Consistency
Use a consistent labeling system throughout your entire installation. This makes it easier for everyone to understand and follow. For example, use the same font, color, and format for all labels.
Visibility
Make sure the labels are visible from a reasonable distance. Avoid placing labels in areas where they may be blocked or obscured.
Maintenance
Regularly inspect the labels to ensure they're still in good condition. If a label is damaged or faded, replace it immediately.
Related Products
If you're in the market for other types of cables, we also offer Outdoor Aerial Cable, Industrial Power Cable, and Overhead Insulated Cable. These cables are designed to meet different needs and are of high quality.
Conclusion
Properly labeling Armoured Control Cable is essential for easy identification, safety, and efficient maintenance. By following the tips and best practices outlined in this blog post, you can ensure that your cables are labeled correctly and that your wiring system runs smoothly.
If you're interested in purchasing Armoured Control Cable or any of our other products, feel free to reach out to us for a quote and to discuss your specific requirements. We're here to help you find the best cable solutions for your needs.
References
- Electrical Wiring Handbook
- Cable Installation Best Practices Guide