

Okay, well, let's dive right into how to install an outdoor aerial cable across a road. I'm an outdoor aerial cable supplier, so I've got plenty of hands - on experience and knowledge to share with you all.
Pre - installation Planning
First things first, before you even think about getting the cables out, you need to do some serious pre - installation planning. You've got to take a good look at the route. Figure out where exactly the cable is going to start and end on either side of the road. Measure the distance across the road carefully. This isn't just about getting a rough idea; you need an accurate measurement to ensure you get the right length of cable.
It's also crucial to check for any local regulations or permits. Different areas have different rules about running cables across roads. You don't want to start the installation and then get stopped halfway because you didn't get the proper paperwork sorted out. You can visit your local municipality office or check their website to find out what's required.
Another aspect of planning is assessing the environment. Look out for any obstacles like trees, poles, or other structures that might interfere with the cable installation. You need to plan a clear path to avoid any future issues. If there are trees, you might need to trim some branches to ensure the cable has enough clearance.
Cable Selection
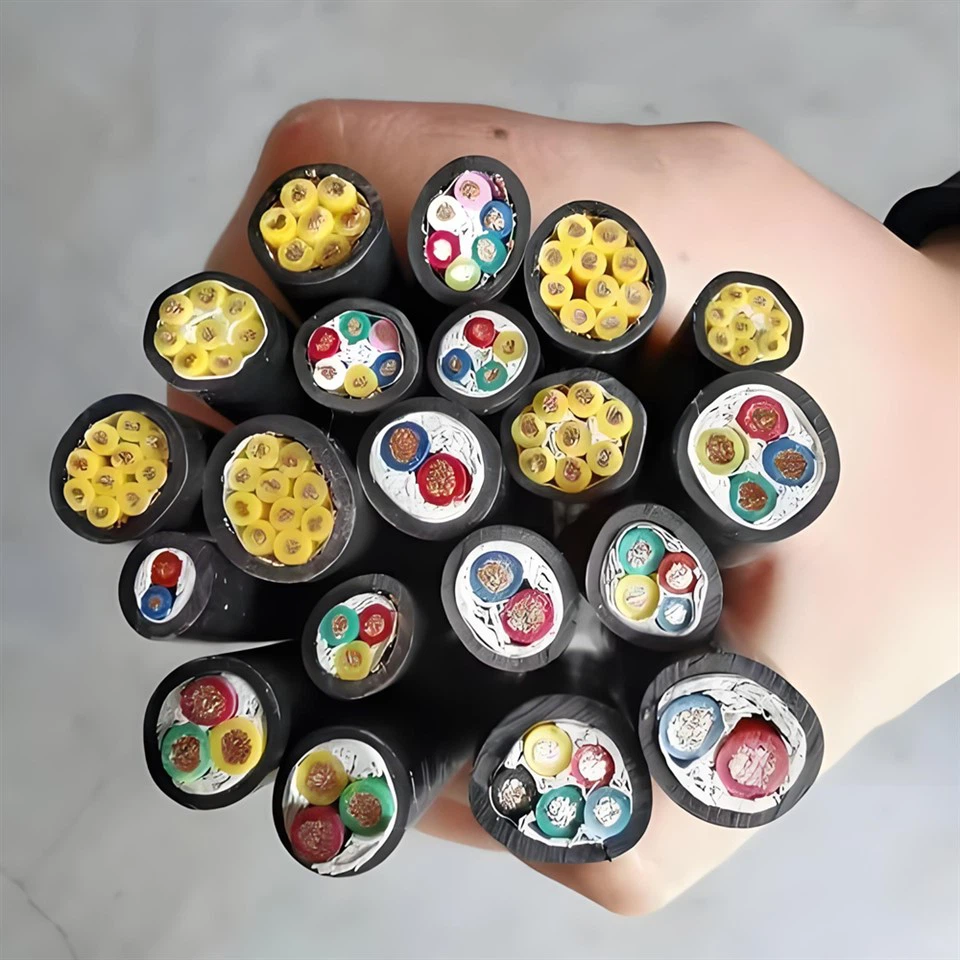
Now, let's talk about choosing the right cable. There are a bunch of options out there, and the one you pick depends on your specific needs. For instance, if you're looking for a reliable option, you might consider the Quadruplex Overhead Wire. This type of cable is great for outdoor use and can handle a fair amount of wear and tear.
If you're dealing with high - voltage power transmission, then the Hv Power Cable is the way to go. It's designed to carry high levels of electricity safely across long distances.
And for applications where you need to control multiple signals, the Multi Core Control Cable is an excellent choice. It has multiple cores bundled together, allowing for efficient signal transmission.
When you're selecting the cable, make sure to also consider its durability. Look at the material it's made of and its resistance to environmental factors like heat, cold, moisture, and UV rays.
Installation Process
Once you've got the planning and cable selection sorted, it's time to get down to the installation.
Step 1: Set Up Support Structures
You'll need to install support structures on either side of the road. These could be poles or brackets, depending on the situation. Make sure they are firmly anchored to the ground. Check the level of each support structure to ensure they are straight. A slight tilt can cause problems later on, like uneven tension on the cable.
Step 2: Stringing the Cable
This is the tricky part. You need to carefully string the cable across the road. You can use pulleys to make the process smoother. Start by attaching one end of the cable to the support structure on one side of the road. Then, slowly pull the cable across using a winch or other pulling device. Make sure there are no kinks or twists in the cable as you're pulling it.
As you're stringing the cable, keep an eye on the tension. You don't want it to be too loose, or it might sag and be a hazard. On the other hand, if it's too tight, it could break under stress.
Step 3: Securing the Cable
Once the cable is across the road, you need to secure it to the support structures. Use appropriate cable clamps or ties to hold it in place. Make sure they are tightened properly but not too tightly to avoid damaging the cable.
Step 4: Testing
After the cable is installed and secured, it's time to test it. Check for continuity and make sure there are no short - circuits. You can use a multimeter for this. If everything checks out, then you're good to go. If there are any problems, you'll need to go back and figure out where the issue is.
Maintenance and Safety
Even after the cable is installed and working, you can't just forget about it. Regular maintenance is essential. Check the cable periodically for any signs of damage or wear. Look for frayed wires, loose connections, or signs of corrosion. If you notice any problems, address them right away to prevent further issues.
Safety is also a huge concern. Make sure there are warning signs around the cable installation area to let people know that there's a cable overhead. If you're working near traffic, use proper traffic control measures to avoid accidents.

Conclusion
Installing an outdoor aerial cable across a road is a complex task, but with the right planning, cable selection, installation process, and maintenance, it can be done successfully. Remember, choosing the right cable like the Quadruplex Overhead Wire, Hv Power Cable, or Multi Core Control Cable makes a big difference.
If you're in the market for high - quality outdoor aerial cables, or you have any questions about installation, feel free to reach out. We're here to help you through the entire process. Whether you're a small - scale DIYer or a big - time contractor, we've got the products and the expertise to meet your needs.
References
- General knowledge from years of experience in the outdoor aerial cable supply industry.
- Industry best - practices guides for cable installation and maintenance.